
Sewing presser feet enhance stitching precision and fabric control. They guide fabric smoothly, preventing drag or bunching. With various types available, they cater to different sewing techniques and materials.
What is a Presser Foot?
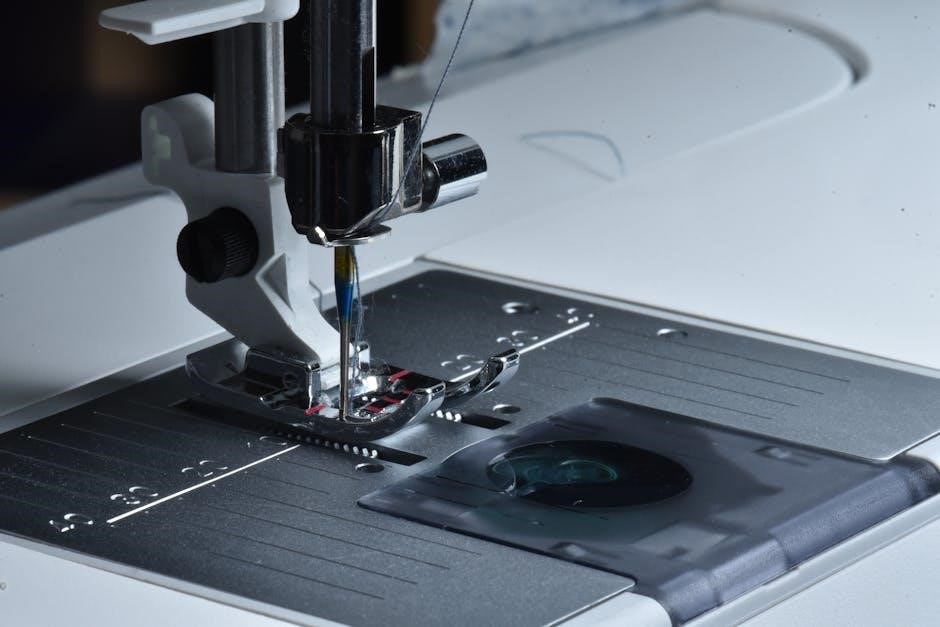
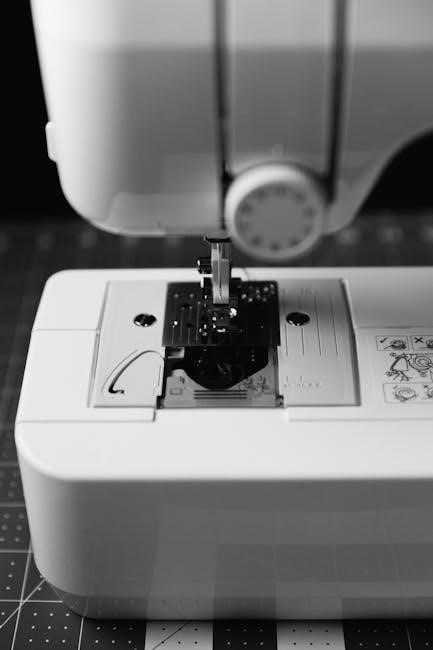
A presser foot is a removable device attached to a sewing machine to hold fabric in place during stitching. It applies consistent pressure, ensuring precise control and even feeding of fabric. Designed to accommodate various sewing tasks, presser feet come in different styles to suit specific techniques, fabrics, or projects, enhancing the overall sewing experience.
The Role of Presser Feet in Sewing
Presser feet play a crucial role in ensuring smooth fabric feeding and consistent stitching. They prevent fabric from dragging or slipping, allowing for precise control over seam allowances. By maintaining even pressure, they help achieve professional-looking results, whether sewing straight lines, zippers, or intricate hems. The right presser foot enhances accuracy and reduces fabric distortion, making it an essential tool for both beginners and experienced sewists.
Types of Sewing Presser Feet
Various presser feet cater to different sewing needs, including standard, straight stitch, zipper, walking, and rolled hem feet, each designed for specific tasks and fabrics.
Standard or Zigzag Foot
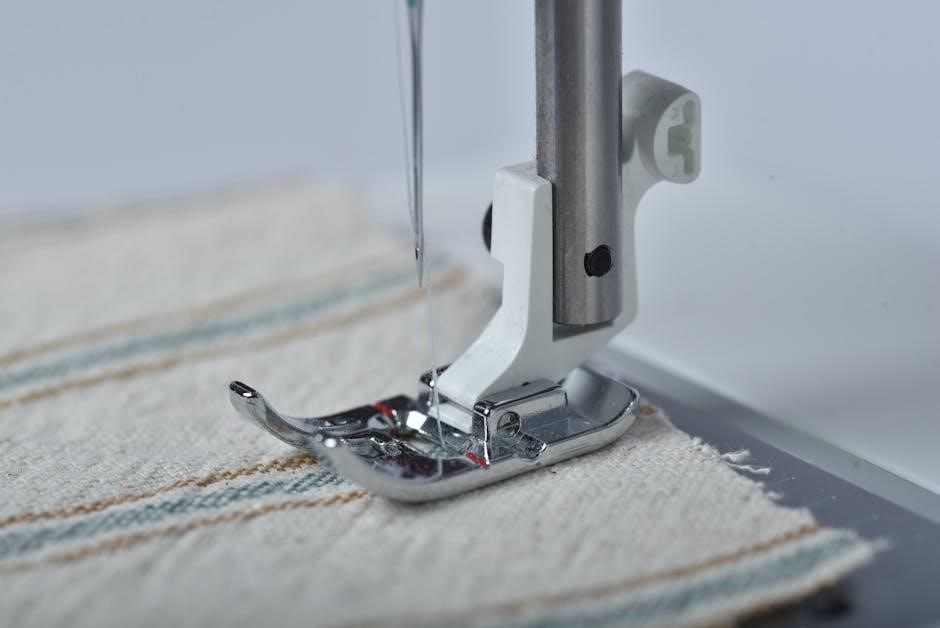
The Standard or Zigzag Foot is the most commonly used presser foot, suitable for general sewing. It accommodates straight and zigzag stitches, making it ideal for versatile projects. Its wide, flat sole ensures even fabric feeding, preventing dragging or bunching. Compatible with most sewing machines, it’s perfect for quilting, dressmaking, and home decor. For best results, align the fabric edge with the foot’s guide to maintain consistent seam allowances. This foot is essential for beginners and experienced sewists alike, offering reliability and adaptability across various tasks.
Straight Stitch Foot
The Straight Stitch Foot is designed for precise straight-line stitching, ideal for tasks like topstitching or sewing fine fabrics. Its narrow, streamlined design allows for better visibility and control, especially when working with delicate materials or tight spaces. The foot’s groove on the underside ensures smooth fabric movement, preventing slippage. It’s particularly useful for garment construction, home decor, and quilting projects where accuracy is key. This foot is a must-have for achieving professional-looking straight stitches with ease and consistency.
Zipper Foot
The Zipper Foot is specifically designed for sewing zippers, piping, and other narrow or bulky materials. Its unique shape allows the fabric to pass smoothly under the needle without obstruction. The foot’s groove on the underside ensures even feeding, preventing the zipper teeth from catching. It’s ideal for attaching zippers in bags, garments, and home decor projects. The Zipper Foot is a must-have for achieving professional-looking results when working with zippers and similar materials, ensuring a flawless finish every time.
Walking Foot
The Walking Foot, also known as the Even Feed Foot, is designed to handle thick fabrics, multiple layers, and heavy materials like denim or leather. It features moving parts that help feed fabric evenly, reducing bunching and dragging. Ideal for quilting, upholstery, and heavy-duty projects, this foot ensures smooth stitching on challenging fabrics. Its ability to manage bulky materials makes it essential for sewists tackling complex or large-scale sewing tasks, ensuring consistent results every time.
Rolled Hem Foot
The Rolled Hem Foot is specialized for creating perfect rolled hems on lightweight fabrics like silk, chiffon, and lace. It features a curved guide that folds the fabric as it feeds through the machine, allowing for precise, narrow hems. This foot is ideal for delicate garments, home decor, and finishing raw edges neatly. Its unique design ensures a professional finish without manual folding, making it a must-have for sewists working on intricate or sheer fabrics requiring elegant hems.
How to Choose the Right Presser Foot
Selecting the right presser foot involves matching it to your machine, fabric type, and project needs. Compatibility ensures smooth operation and desired results for every stitch.
Understanding Compatibility with Your Sewing Machine
Compatibility is key when choosing a presser foot. Ensure the foot matches your machine’s make and model for proper fit and function. Check the manufacturer’s guidelines or consult the user manual to confirm compatibility. Some feet are universal, while others are designed for specific machines. Incorrect or incompatible feet can lead to poor stitching or machine damage, so always verify before use.
Selecting the Right Foot for Specific Fabrics or Projects
Choosing the right presser foot depends on the fabric type and project. For delicate fabrics, use a lightweight foot, while heavy-duty materials require sturdy feet. Zipper feet are ideal for zippers and piping, whereas rolled hem feet are perfect for creating hems. Teflon feet work well with vinyl or leather, and walking feet handle thick layers. Matching the foot to your project ensures smooth stitching, prevents fabric slippage, and enhances overall results. Always consider the fabric’s thickness and texture for optimal performance.
Installing and Removing Presser Feet
Installing and removing presser feet is straightforward. Ensure compatibility with your machine, then attach or detach by turning the ankle or using a release lever. Always refer to your machine’s guide for specific instructions to avoid damage or improper fitting.
Step-by-Step Guide to Attaching a Presser Foot
Ensure your sewing machine is compatible with the presser foot.
Turn off and unplug your machine for safety.
Lower the current presser foot and locate the attachment mechanism.
Align the new presser foot with the machine’s ankle.
Secure it by turning the ankle screw or pressing until it clicks.
Test by sewing a straight line to ensure proper attachment and function.
How to Remove a Presser Foot Safely
Raise the presser foot to its highest position.
Unplug the sewing machine for safety.
Locate the screw or release mechanism holding the foot in place.
Loosen the screw or press the release button gently.
Carefully pull the presser foot away from the machine.
Store the removed foot in a protective case to prevent damage.
Troubleshooting Common Presser Foot Issues
Common presser foot issues include improper fabric feeding, uneven stitching, and foot damage. These are often caused by incorrect foot selection or poor maintenance. Regular cleaning, proper alignment, and using the right foot for the task can resolve most problems effectively.
Adjusting Presser Foot Pressure
Adjusting presser foot pressure ensures even fabric feeding and prevents distortion. Most machines have a knob or dial to increase or decrease pressure. For heavy fabrics, higher pressure is needed, while delicate materials require less. If fabric bunches or drags, pressure may be too high. Conversely, if fabric slips, pressure might be too low. Always test adjustments on scrap fabric to ensure proper settings before sewing your project. Refer to your machine’s manual for specific guidance on pressure adjustment.
Resolving Fabric Feeding Problems
Fabric feeding issues can arise from incorrect presser foot pressure or foot type. Adjusting the pressure or switching to a specialized foot, like a walking foot, can resolve uneven feeding. For slippery fabrics, using a Teflon or even-feed foot helps maintain control. Heavy fabrics may require increasing presser foot pressure. If fabric bunches, check thread tension and ensure the foot is clean. Placing tissue paper under delicate fabrics can also improve feeding. Always test adjustments on scrap fabric first.
Maintenance and Care of Presser Feet
Regularly clean presser feet with a soft cloth to remove debris. Store them in a protective case to prevent damage. Inspect for wear or damage.
Cleaning and Storing Presser Feet
Cleaning presser feet involves using a soft cloth to remove dirt and thread fragments. Avoid harsh chemicals to prevent damage. Store feet in a protective case or pouch to avoid scratches and dust accumulation. Regular maintenance ensures optimal performance and extends the life of your presser feet. Proper care also prevents rust or corrosion, keeping your sewing tools in excellent condition for various projects.
Regular Checks for Optimal Performance
Regularly inspect presser feet for wear, alignment, and damage. Ensure they are securely attached to the machine. Check for dust or debris buildup, which can affect fabric feeding. Lubricate moving parts if necessary. Proper alignment ensures even stitching, while worn feet may require replacement. Regular checks help maintain consistent sewing quality and prevent unexpected issues during projects. This routine care ensures your presser feet perform reliably for all your sewing needs.
The Future of Sewing Presser Feet
Innovation drives the evolution of presser feet, with smart technology and automation enhancing sewing efficiency. Modern materials and designs promise improved precision, revolutionizing the sewer’s experience.
Technological Advancements in Presser Foot Design
Modern presser feet now feature smart sensors and automatic fabric detection, optimizing stitching accuracy. Advanced materials like titanium and ceramic enhance durability. Some designs even incorporate eco-friendly production methods, aligning with sustainable sewing trends. These innovations ensure smoother fabric flow and reduced friction, making sewing more efficient and enjoyable for crafters of all skill levels.
Smart Presser Feet for Modern Sewing Machines
Smart presser feet integrate seamlessly with high-tech sewing machines, offering real-time feedback and automatic adjustments. They synchronize with machine settings, optimizing stitch quality and fabric handling. Equipped with sensors, they detect fabric thickness and adjust pressure accordingly, ensuring flawless results. These intelligent feet also provide data on thread tension and stitch alignment, empowering users to refine their techniques and achieve professional-grade finishes effortlessly.