
Installing a Craftsman garage door opener enhances convenience and security. Ensure compatibility with your sectional door and gather necessary tools. Follow manual instructions for safe assembly and avoid potential hazards.
Overview of the Installation Process
Installing a Craftsman garage door opener involves several key steps, starting with preparing your garage and ensuring all safety precautions are in place. Begin by disabling any locks and removing ropes attached to the garage door to prevent accidents. Next, gather all necessary tools and materials as outlined in the manual, such as a stepladder, drill bits, and wrenches. The process typically includes mounting the header bracket above the garage door, assembling the opener unit, and attaching the door arm along with the chain or belt. After the hardware is in place, install safety sensors to ensure proper operation and prevent injury. Finally, program the remote controls and wall station to complete the setup. It’s crucial to follow the manual closely and take your time to ensure each step is done correctly. If you encounter any issues, refer to the troubleshooting section of the manual or consider seeking professional assistance.
Importance of Safety Precautions
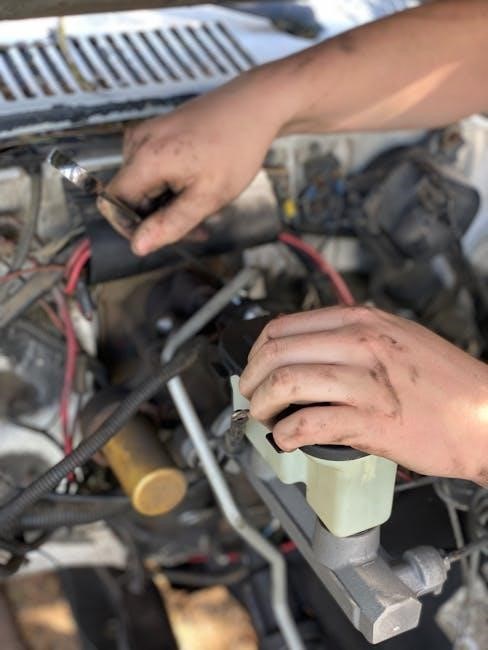
Safety is paramount when installing a Craftsman garage door opener. Always disconnect power and disable locks before starting to prevent accidental activation. Clear the area around the garage door to avoid tripping hazards. Ensure the door is properly balanced and lubricated, as an unbalanced door can cause the opener to malfunction. Wear protective gear like gloves and safety glasses to protect yourself from potential debris. Never install the opener on a one-piece door without proper reinforcement, and avoid entanglement by removing any ropes tied to the door. Follow the manufacturer’s guidelines strictly to ensure a safe and successful installation.
Preparation for Installation
Gather all tools and materials, including a stepladder, drill bits, and a wrench. Ensure the garage door is balanced and lubricated for smooth operation during installation.
Tools and Materials Required
To install a Craftsman garage door opener, you’ll need essential tools such as a stepladder, various drill bits (3/16″ and 5/16″), and an adjustable wrench. Additional materials include wood screws, lag screws, and extension brackets for sensors. Ensure all components from the opener kit are present, including the motor unit, chain or belt, and safety sensors. Proper tools and materials ensure a secure and efficient installation process, preventing potential issues and ensuring safety. Always refer to the manual for specific requirements to avoid missing any critical items during preparation.
Understanding the Garage Door Opener Components
The Craftsman garage door opener consists of several key components. The motor unit is the central power source that drives the system. It is connected to a rail and trolley system, which guides the movement of the door. A chain or belt links the motor to the door, transferring power to open or close it. The header bracket secures the motor to the garage ceiling. Safety sensors are installed near the floor to detect obstacles and prevent accidents. Additionally, the remote control and wall station provide operation convenience. Understanding these components ensures proper installation and functionality, as each part plays a vital role in the overall system’s performance and safety.
Step-by-Step Installation Guide
Begin by installing the header bracket, then assemble and hang the opener. Attach the door arm and chain or belt, followed by safety sensors. Program the remote and wall station for operation.
Installing the Header Bracket
The header bracket is the foundation of your Craftsman garage door opener installation. Locate the center of the garage door header using a tape measure, ensuring it aligns with the door’s midpoint. Use a level to confirm the bracket is straight. Mark the screw holes with a pencil and drill pilot holes into the wood. Secure the bracket firmly with the provided screws. Ensure the bracket is tightly fastened to support the opener’s weight. Double-check the alignment to prevent future issues. If your garage has a unique construction, extension brackets or wood blocks may be necessary for proper installation. Always refer to the manual for specific guidance.
Assembling and Hanging the Opener
Assemble the opener by attaching the rail to the motor unit, ensuring all components are securely fastened. Use a stepladder to reach the ceiling and hang the opener from the header bracket. Align the opener’s rail with the center of the garage door, ensuring proper balance. Tighten all bolts and screws firmly to prevent movement. Use a level to confirm the opener is straight and evenly positioned. If your garage has exposed beams, additional support may be required. Follow the manual’s instructions for specific assembly steps and refer to the included diagrams for clarity. Always ensure the opener is level and securely attached before proceeding to the next steps. Proper assembly is crucial for smooth operation and safety.
Attaching the Door Arm and Chain/Belt
Attach the door arm to the garage door opener’s carriage, ensuring it aligns properly with the door’s top section. Secure it with the provided bolts, tightening firmly. Connect the chain or belt to both the opener’s motor and the door arm, adjusting the tension as needed. Ensure there are no kinks or twists in the chain or belt. Test the system by manually lifting the door to confirm smooth movement. Tighten any loose connections and lubricate moving parts to prevent wear. Proper alignment and tension are crucial for optimal performance and to avoid potential damage to the opener or door. Always refer to the manual for specific torque settings and adjustment guidelines to ensure safety and functionality.


Finalizing the Installation
After completing the installation, test all components to ensure smooth operation. Install safety sensors and program remotes. Secure all loose wires and double-check connections for safety and functionality.
Installing Safety Sensors
Installing safety sensors is crucial for preventing accidents. Mount the sensors 6 inches above the garage floor, one on each side of the door. Ensure they are aligned and facing each other. Connect the sensors to the opener’s control panel according to the manual. Test the sensors by blocking the beam with an object; the opener should reverse or stop. Secure the sensors firmly to prevent misalignment. If installation steps are unclear, refer to the manual or consult a professional. Properly installed sensors ensure the garage door operates safely and efficiently, protecting people and pets from potential harm.
Programming the Remote and Wall Station
Programming the remote and wall station ensures smooth operation of your Craftsman garage door opener. Locate the “Learn” button on the opener’s motor unit. Press and release it to enter programming mode. Hold the remote control’s button until the opener lights flash, indicating successful syncing. Repeat for the wall station. Test both devices to ensure proper functionality. If issues arise, consult the manual for troubleshooting steps. Proper programming ensures convenient and secure garage door operation. Always follow the manual’s instructions for accurate setup.
Maintenance and Troubleshooting
Regular maintenance ensures optimal performance. Lubricate moving parts and inspect chains or belts for wear. Troubleshoot common issues like misaligned sensors or weak remote signals promptly.
Regular Maintenance Tips
Regular maintenance is crucial to ensure your Craftsman garage door opener operates smoothly. Start by lubricating all moving parts, such as rollers and hinges, with a high-quality silicone-based spray. Check the chain or belt for signs of wear, including fraying or excessive noise, and replace them if necessary. Inspect the garage door tracks for debris and clean them thoroughly to prevent obstructions. Additionally, test the door’s balance monthly by disconnecting the opener and manually lifting the door—it should stay in place without drifting. Finally, update the remote control batteries annually and ensure all safety sensors are aligned and functioning properly to maintain optimal performance and safety.
Common Issues and Solutions
Common issues with Craftsman garage door openers include the door not closing fully, remote malfunctions, or unusual noises. If the door won’t close, check the safety sensors for alignment and ensure no obstructions are blocking the infrared beam. For remote issues, reprogram the remote by pressing the learn button and ensuring batteries are fresh. Strange noises, like grinding or screeching, often indicate worn or misaligned parts, such as the chain or belt, which may need lubrication or replacement. If the opener stops working, verify it’s receiving power and check the circuit breaker. Regularly inspect and tighten loose screws or bolts to prevent vibrations from causing mechanical issues. Addressing these problems promptly ensures reliable operation and extends the opener’s lifespan.